Так-как мне понадобился стенд для разработки темы на WordPress, то не грех и заметку написать как это делается. Разворачивать окружение я буду на своем ноутбуке с Ubuntu 24.04.
Итак, начнем с подготовки рабочего окружения и во первых мы подключаем репозитарий с разными версиями PHP.
# apt install software-properties-common ca-certificates lsb-release apt-transport-https
# add-apt-repository ppa:ondrej/php
# apt-get update
# apt upgrade
Устанавливаем СУБД MySQL (с Postgresql WordPress не работает и это прям большой минус, но и майка сойдет).
# aptitude install mysql-serverСоздаем базу данных для нашего стэйдж Wordpres и пользователя c доступом только к этой базе.
# mysql
mysql> CREATE DATABASE stage_wp;
mysql> CREATE USER 'stage_wp'@'localhost' IDENTIFIED WITH mysql_native_password BY 'xxxSecretPasswordxxx';
mysql> GRANT SELECT, INSERT, UPDATE, DELETE, CREATE, INDEX, DROP, ALTER, CREATE TEMPORARY TABLES, LOCK TABLES ON stage_wp.* TO 'stage_wp'@'localhost';
mysql> FLUSH PRIVILEGES;
mysql> exit
Локалхост мы указываем принудительно, так-как это просто среда для разработки и сейчас проверим, что мы можем локально к ней подключиться.

Смотрим доступные версии PHP-FPM, ну и соответственно пакетная база php необходимой версии будет доступна. Переходим ко второму пункту и устанавливаем необходимые пакеты, на данный момент текущая стабильная версия 8.4.
# apt install php8.4-fpm php8.4-gd php8.4-mysql php8.4-curl php8.4-mbstring php8.4-intl php8.4-gmp php8.4-bcmath php8.4-xml php8.4-imagick php8.4-zipМинимальное окружение мы подготовили, теперь устанавливаем Nginx и CertBot (для чистоты эксперимента, я буду использовать реальный внешний IP-адрес, не зря же я за него дополнительно оплачиваю).
# apt-get install nginx
# aptitude install python3-certbot-nginx
Прокидываем белый IP на ноут, но естественно только 80 и 443 порты (только сумасшедший будет все в дикий интернет светить).

Проверяем и смотрим, что Nginx у нас отвечает стандартненько.

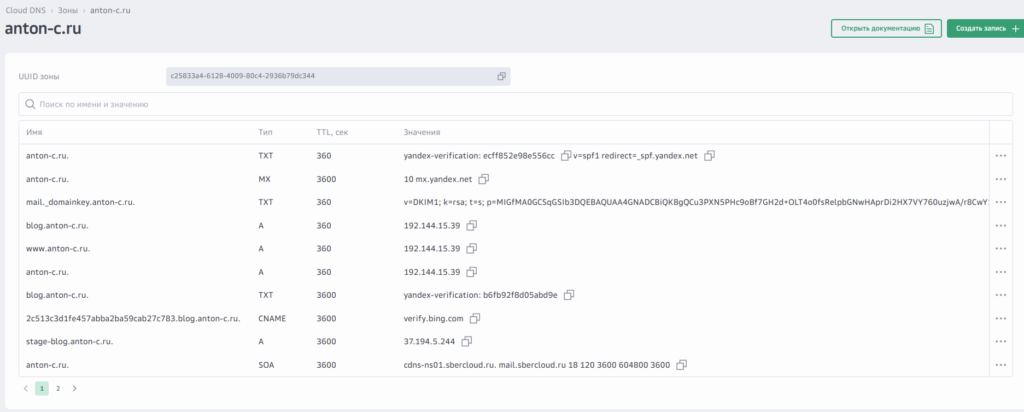
Ну, шо как говорится погнали делать стэйдж. И первым делом намутим себе домен и сертификат. Сделаем на сбер-облаке, как я уже писал вполне себе бесплатненько и удобно.

Проверяем, что все резолвится и банальненько так через CertBot сделаем сертификатик.
# nslookup stage-blog.anton-c.ruЕсли резолвится, то у нас есть варики или ACME-сервер использовать или Nginx-плагин, но первый запуск лучше сделать руками и указать электронную почту и со всем согласиться. Выглядит примерно так.
- - - - - - - - - - - - - - - - - - - - - - - - - - - - - - - - - - - - - - - -
Please read the Terms of Service at
https://letsencrypt.org/documents/LE-SA-v1.4-April-3-2024.pdf. You must agree in
order to register with the ACME server. Do you agree?
- - - - - - - - - - - - - - - - - - - - - - - - - - - - - - - - - - - - - - - -
(Y)es/(N)o: Y

- - - - - - - - - - - - - - - - - - - - - - - - - - - - - - - - - - - - - - - -
Would you be willing, once your first certificate is successfully issued, to
share your email address with the Electronic Frontier Foundation, a founding
partner of the Let's Encrypt project and the non-profit organization that
develops Certbot? We'd like to send you email about our work encrypting the web,
EFF news, campaigns, and ways to support digital freedom.
- - - - - - - - - - - - - - - - - - - - - - - - - - - - - - - - - - - - - - - -
(Y)es/(N)o: Y
Account registered.
Please enter the domain name(s) you would like on your certificate (comma and/or
space separated) (Enter 'c' to cancel): stage-blog.anton-c.ru
Requesting a certificate for stage-blog.anton-c.ru

Successfully received certificate.
Certificate is saved at: /etc/letsencrypt/live/stage-blog.anton-c.ru/fullchain.pem
Key is saved at:         /etc/letsencrypt/live/stage-blog.anton-c.ru/privkey.pem
This certificate expires on 2025-04-03.
These files will be updated when the certificate renews.
Certbot has set up a scheduled task to automatically renew this certificate in the background.

Deploying certificate
Successfully deployed certificate for stage-blog.anton-c.ru to /etc/nginx/sites-enabled/default
Congratulations! You have successfully enabled HTTPS on https://stage-blog.anton-c.ru

- - - - - - - - - - - - - - - - - - - - - - - - - - - - - - - - - - - - - - - -
If you like Certbot, please consider supporting our work by:
 * Donating to ISRG / Let's Encrypt:   https://letsencrypt.org/donate
 * Donating to EFF:                    https://eff.org/donate-le
- - - - - - - - - - - - - - - - - - - - - - - - - - - - - - - - - - - - - - - -
Следующим этапом мы создаем каталог в котором будет находиться наш vhost, скачивам текущую стабильную версию WordPress и распаковываем в созданный каталог.
# mkdir -p /var/www/vhosts/stage-blog.anton-c.ru
# cd /tmp/
# wget https://ru.wordpress.org/latest-ru_RU.zip
# unzip ./latest-ru_RU.zip
# rsync -av ./wordpress/ /var/www/vhosts/stage-blog.anton-c.ru/
# chown -R www-data:www-data /var/www/vhosts/stage-blog.anton-c.ru/
Конфигурация для нашего vhost.
server {
    if ($host = stage-blog.anton-c.ru) {
        return 301 https://$host$request_uri;
    } # managed by Certbot


    listen 80;
    server_name stage-blog.anton-c.ru;

    # Enforce HTTPS
    return 301 https://$server_name$request_uri;


}

server {
    listen 443      ssl http2;

    server_name stage-blog.anton-c.ru;

    access_log  /var/log/nginx/stage-blog.anton-c.ru-access.log;
    error_log  /var/log/nginx/stage-blog.anton-c.ru-error.log warn;
    ssl_certificate /etc/letsencrypt/live/stage-blog.anton-c.ru/fullchain.pem; # managed by Certbot
    ssl_certificate_key /etc/letsencrypt/live/stage-blog.anton-c.ru/privkey.pem; # managed by Certbot
    include /etc/letsencrypt/options-ssl-nginx.conf;
    ssl_dhparam /etc/letsencrypt/ssl-dhparams.pem;

    add_header Strict-Transport-Security "max-age=15768000; includeSubDomains; preload;" always;

    client_max_body_size 64M;
    fastcgi_buffers 64 4K;

    proxy_connect_timeout 600;
    proxy_send_timeout 600;
    proxy_read_timeout 600;
    send_timeout 600;

    gzip on;
    gzip_vary on;
    gzip_comp_level 4;
    gzip_min_length 256;
    gzip_proxied expired no-cache no-store private no_last_modified no_etag auth;
    gzip_types application/atom+xml application/javascript application/json application/ld+json application/manifest+json application/rss+xml application/vnd.geo+json application/vnd.ms-fontobject application/x-font-ttf application/x-web-app-manifest+json application/xhtml+xml application/xml font/opentype image/bmp image/svg+xml image/x-icon text/cache-manifest text/css text/plain text/vcard text/vnd.rim.location.xloc text/vtt text/x-component text/x-cross-domain-policy;

    add_header Referrer-Policy                      "no-referrer"   always;
    add_header X-Content-Type-Options               "nosniff"       always;
    add_header X-Download-Options                   "noopen"        always;
    add_header X-Frame-Options                      "SAMEORIGIN"    always;
    add_header X-Permitted-Cross-Domain-Policies    "none"          always;
    add_header X-XSS-Protection                     "1; mode=block" always;

    fastcgi_hide_header X-Powered-By;

    root /var/www/vhosts/stage-blog.anton-c.ru/;

    location / {
       index index.php;
       try_files $uri $uri/ /index.php;
    }

    location ~* \.php$ {
         fastcgi_split_path_info ^(.+?\.php)(/.*)$;
         if (!-f $document_root$fastcgi_script_name) {return 404;}
         fastcgi_pass  unix:/run/php/php8.4-fpm.sock;
         fastcgi_index index.php;
         include fastcgi_params;
         fastcgi_param SCRIPT_FILENAME $document_root$fastcgi_script_name;
    }
}
Дальше мы немного усложним и прикроем доступ на уровне nginx и разрешим доступ со строго определенных адресов, а сейчас все по классике и просто пропишем параметры конфигурации, как и написано в инструкции.

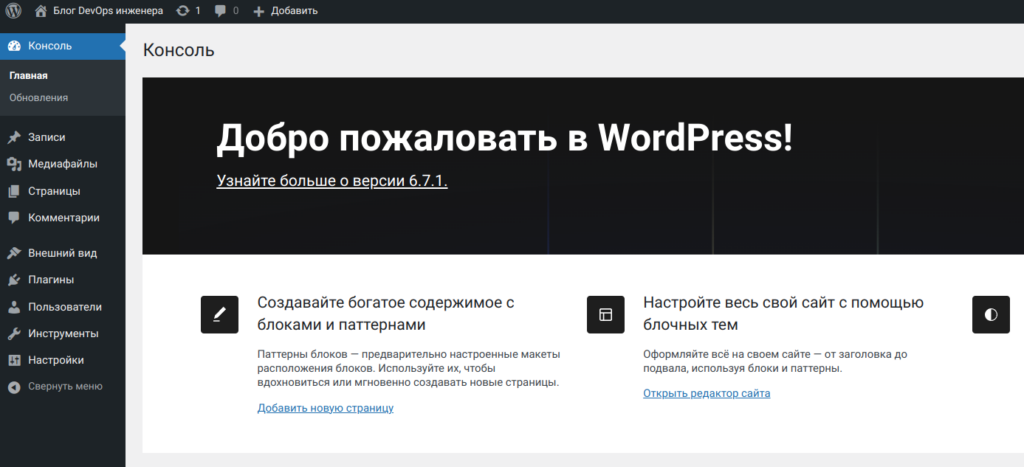
Вот и наш стэйдж готов.


